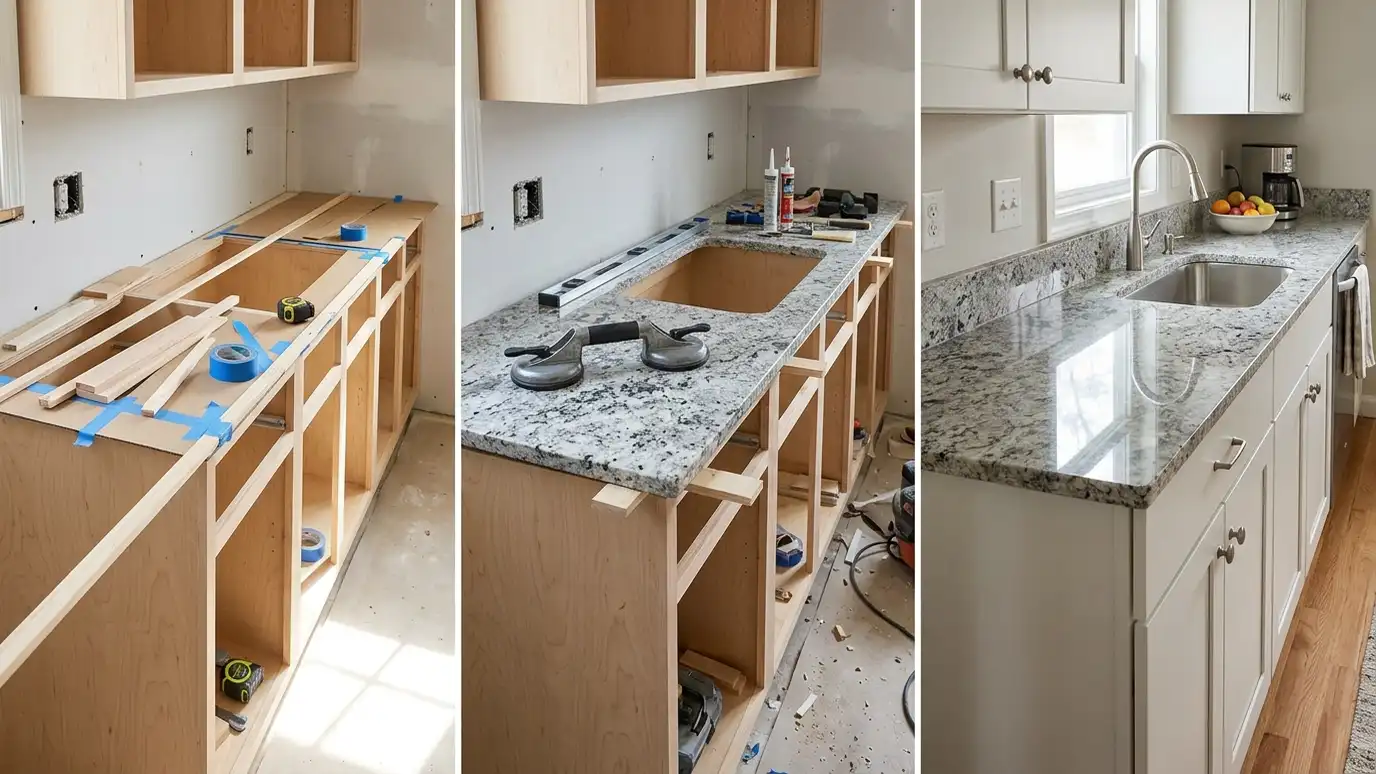
Step one: the estimate and the plan
Every project starts with a visit, where the installer looks at your cabinets, takes rough measurements and talks through stone, edges, sinks and layout. You leave with a written estimate that lists what is included and what is not.
This is also the moment to raise questions about timing, access, pets and plumbing. A good estimate visit saves a lot of surprises later.
Step two: choosing the slab
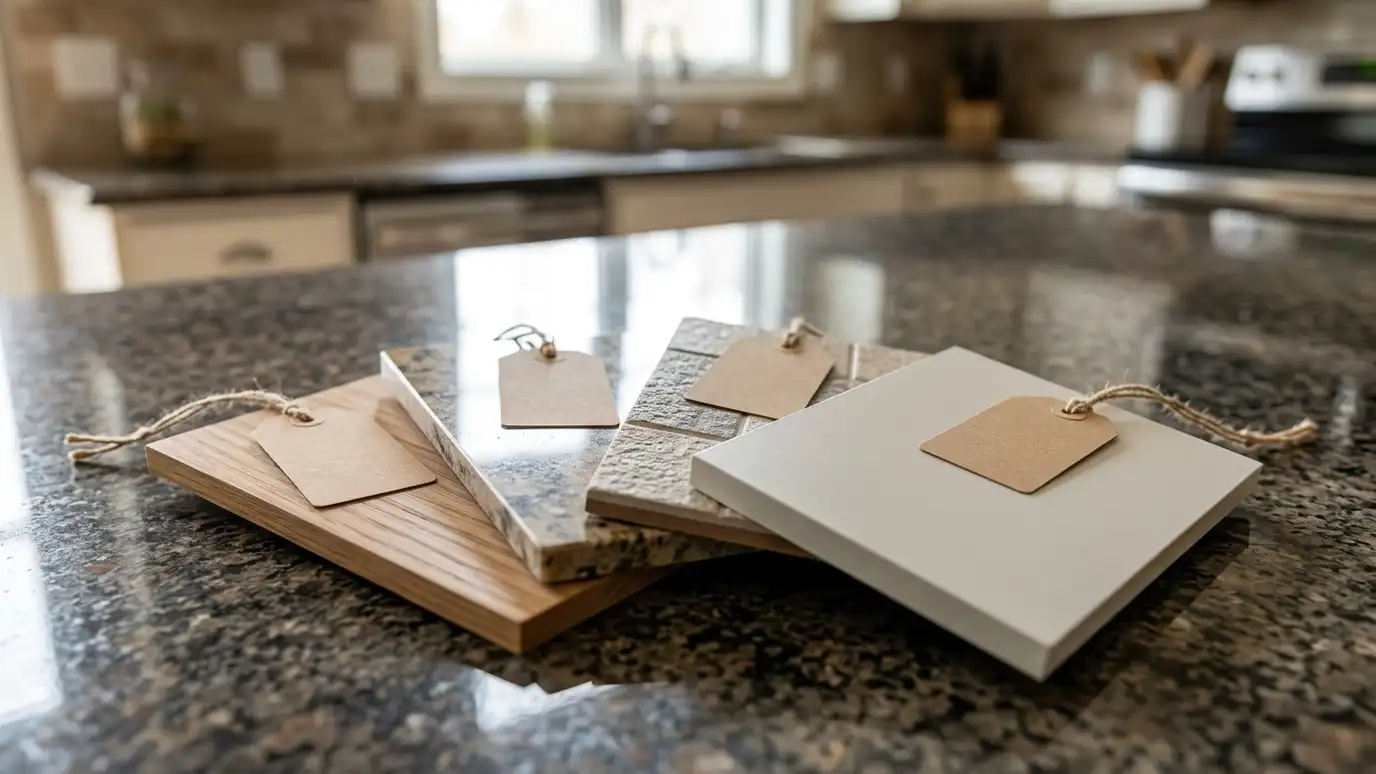
The next step is choosing the actual slab at a local stone yard. Because granite is natural, each slab is unique, and photographs and small samples only tell part of the story. Seeing the full slab shows the movement of the pattern, the range of color and any fissures or fills.
Your installer should help you read the slab and plan how it will lay out on your cabinets, so you know where seams and the best pattern will fall.
Step three: templating
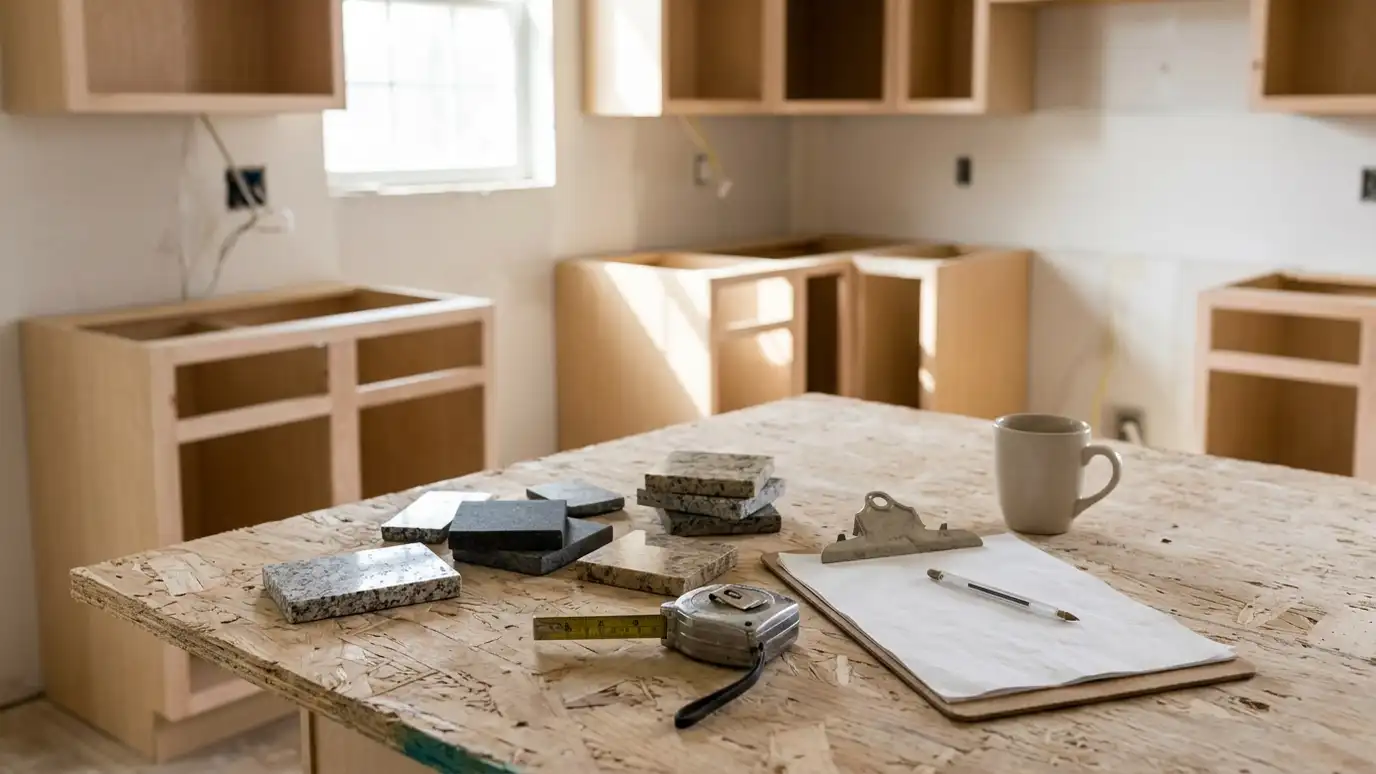
Once the cabinets are set and level, the installer templates the counters. This captures the real shape of each run, with every wall, corner and cutout. Digital measuring or physical templates are used, and you confirm seams, overhangs and the sink and cooktop positions.
The template becomes the pattern for the fabricator, so accuracy here prevents most problems.
Step four: fabrication
The slab is cut to the template, edges are shaped and polished, and cutouts are made. This takes days to a couple of weeks, depending on the shop and the complexity. For tricky shapes or special orders, it can take longer.
Your installer should give you a schedule and update you if it changes.
Step five: removal and preparation
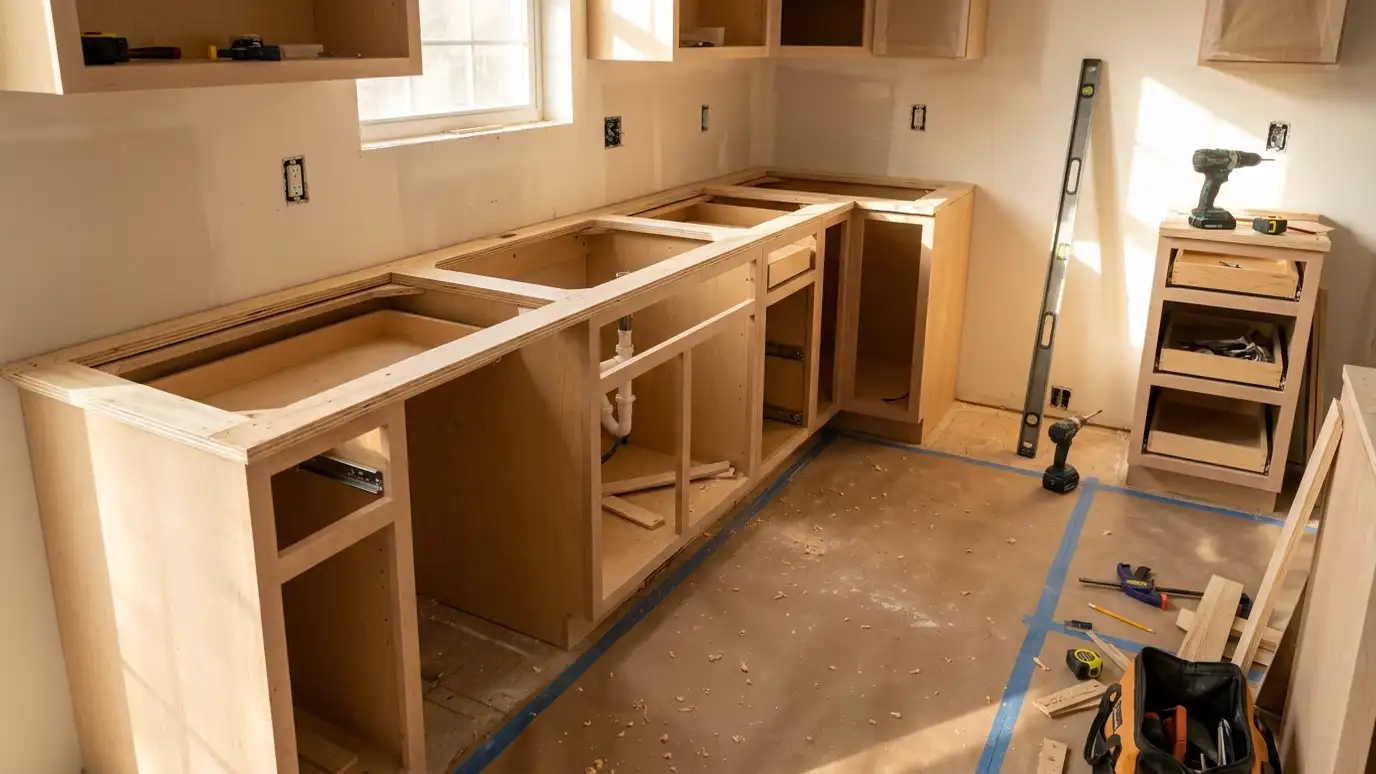
On installation day, or just before, old counters are removed, plumbing is disconnected and the cabinets are cleaned, checked and leveled. This step protects your floors and walls and prepares the surface for the stone.
If hidden damage appears, such as water-stained cabinets, you will be told before work continues.
Step six: installation and seaming
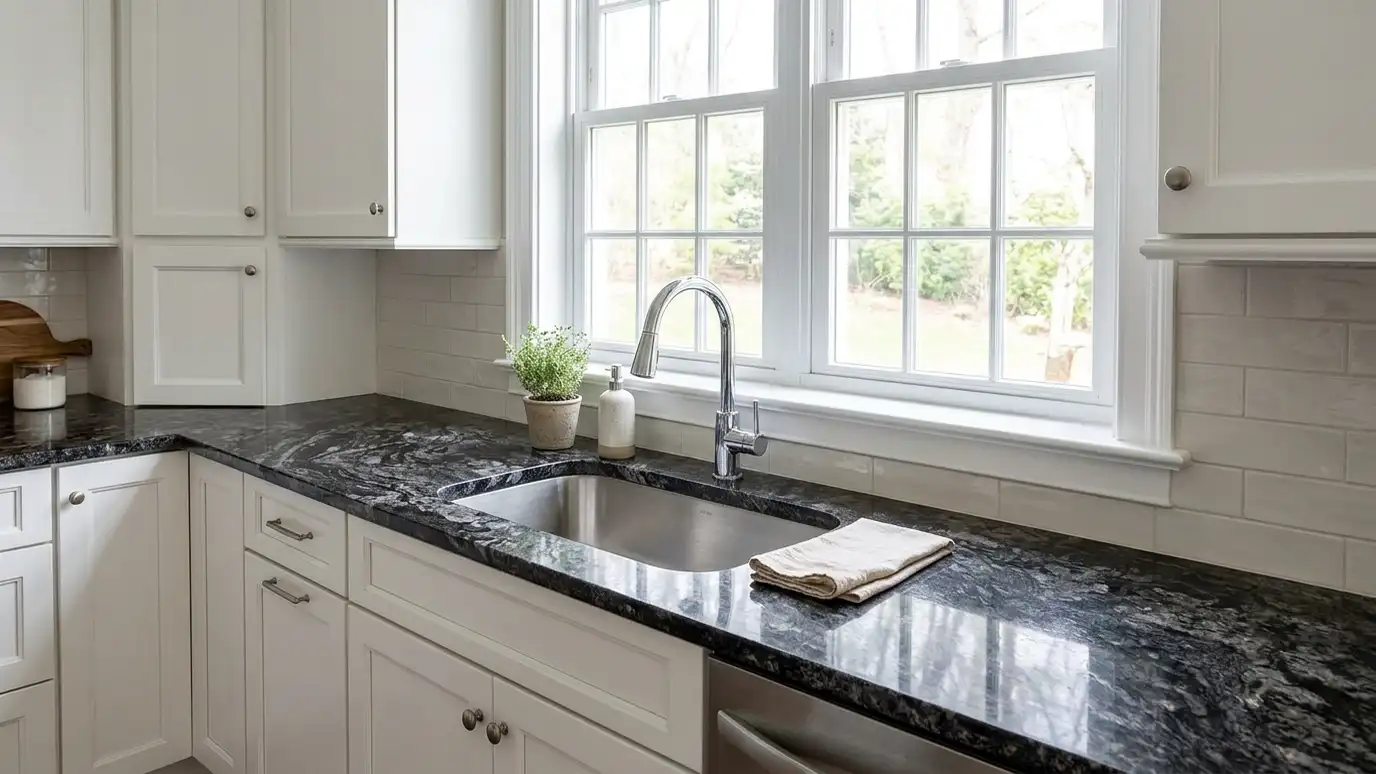
The finished pieces are carried in, dry fitted, shimmed and set with adhesive. Seams are pulled tight and color matched, and sinks and backsplashes are fitted. A good crew moves carefully, protects the home and cleans as they go.
Most kitchens are installed in a single day, with a short wait before heavy use while the adhesive cures.
Step seven: sealing and care
The stone is sealed, the plumbing is reconnected and you receive care instructions, including the water test for the sealer. A final walkthrough confirms that everything looks right and works.
Keep your installer’s contact information, since a good company is available if anything needs attention later.
Expect seven steps, make decisions before templating and ask for a written schedule so you know what happens when.